Sometime it happens that you have multiple databases on your MySQL 8.0 server and one, just one, stops working. And you don’t have a recent MySQL dump as backup. Maybe you did full-server backups with Acronis or Veeam. Maybe you can’t do a full restore of the back-up data file or you will lose the other database’s new data. This happened to a friend of mine, I helped him restoring a single database from his Acronis’ data-files backup and giving him back a zipped mysqldump, useful to restore the only corrupted database. In this case I used Vagrant to easily build a VirtualBox virtual machine to host the mysql server I needed to use for restoring.
Following this guide, you will do the same steps I did for restore databases from mysql data-files.
Before you begin…
- Check the original MySQL server version: you should install the same major version on your VM, better if original and vm have exactly the same
- Install VirtualBox (or other virtualization software)
- Install Vagrant (you can do It without Vagrant, but I think it makes the process more easy and quick)
- The MySQL data files that you should restore
Build the Vagrant Virtual Machine
First of all I created a new folder for the virtual machine project and created a new Vagrant file. I also created a “data” directory for sharing the data-files
daniele@macbook-pro-di-daniele-veratti ~ % mkdir mysql-restore
daniele@macbook-pro-di-daniele-veratti ~ % cd mysql-restore
daniele@macbook-pro-di-daniele-veratti mysql-restore % mkdir data
daniele@macbook-pro-di-daniele-veratti mysql-restore % vagrant init
Then I edited the Vagrantfile created. I already had some vagrant boxes installed, I choose to use the “generic/ubuntu2004”, and also disabled the box updates, just to speed up the entire process and easily get the vagrant vm running. I added a forwarded port to connect to the mysql server, just in case there would be this need, but I didn’t use it. Obviously I shared the “data” folder, remapping it on the “/vagrant_data” folder in the VM.
Here you can grab my Vagrantfile
Vagrant.configure("2") do |config|
  config.vm.box = "generic/ubuntu2004"
  config.vm.box_check_update = false
  config.vm.network "forwarded_port", guest: 3360, host: 4306, host_ip: "127.0.0.1"
  config.vm.synced_folder "./data", "/vagrant_data"
end
Setup the Virtual Machine and MySQL server
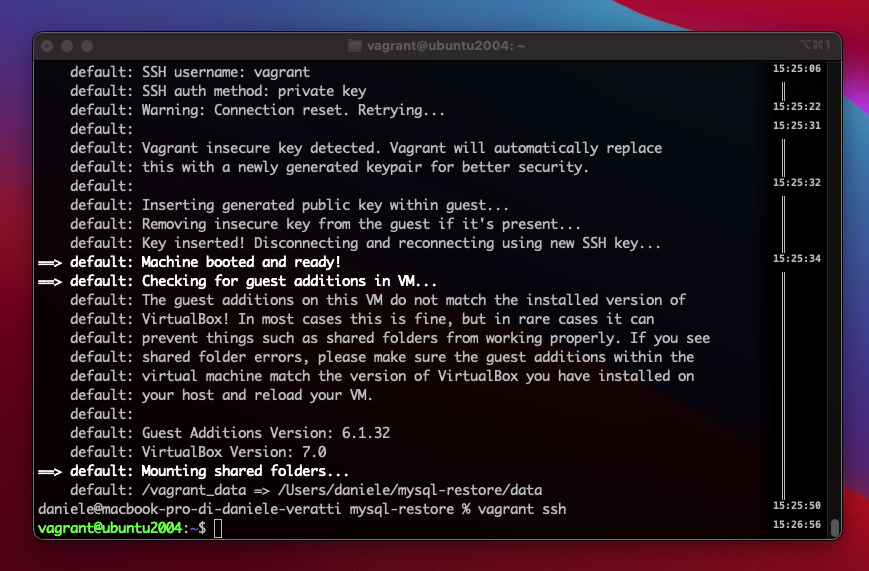
Start the virtual machine with the command “vagrant up” and wait the VM to be up and running. Then run “vagrant ssh” to get access to VM’s shell.

Now that you logged in as vagrant user install mysql. For my case using Ubuntu 20.04 as Vagrant box gave me the possibility to install MySQL Server 8 with no hassle.
After that, the next steps are:
– Stop the mysql service
– change the /var/lib/mysql directory with the backed up one
– set the right files and folder permissions
– restart mysql server in safe mode
Type the following commands. I will add a # as comment, do not run those lines, but if you copy them there’s no problem! They will just be ignored.
$ sudo apt update && sudo apt install mysql-server
$ # stop the mysql server
$ sudo systemctl stop mysql.service
$ sudo systemctl disable mysql.service

$ # rename the /var/lib/mysql directory
$ sudo mv /var/lib/mysql /var/lib/mysql.bak

$ # copy the files from vagrant data. I placed the whole backup datafiles in /vagrant_data/mysql directory
$ sudo cp -r /vagrant_data/mysql /var/lib/mysql
$ # now set the permissions. /vargrant_data files have the "vagrant" user as owner, so don't do a "bind mount"
$ sudo chown -R mysql:mysql /var/lib/mysql
$ sudo chmod -R 640 /var/lib/mysql
$ sudo chmod 750 /var/lib/mysql
$ sudo find /var/lib/mysql -type d | xargs sudo chmod 750
$ # the .pem certificates inside the mysql directory should have strict permissions
$ sudo find /var/lib/mysql -iname "*pem" | xargs sudo chmod 600
Now that all is ready we can should start the mysql server. Keep in mind that now the root password is the same as the one specified on the original MySQL server. If you don’t know it (and that was my case), you should a little trick. If you know the root password (or any useful password reading the databases you want), just start the mysql server with “sudo systemctl start mysql.service” and jump to the next paragraph.
Start MySQL Server with no password
Luckily MySQL has the mysqld_safe executable, an alternative to the normal mysqld, that allow us to access to our databases without knowing any password.
You can launch it with the following commands:
$ # first create a directory for mysql.sock - maybe you don't need this, but in my case it had to create /var/run/mysqld
$ sudo mkdir /var/run/mysqld
$ sudo chmod 777 /var/run/mysqld
$ # actually start the mysql server, add & to launch as background process
$ sudo mysqld_safe --skip-grant-tables &
The mysql server should be now up. Maybe it can’t start and give you some errors. This happened to me, that’s why I created the “/var/run/mysqld” directory. If mysql server doesn’t start, check the /var/log/mysql/error.log
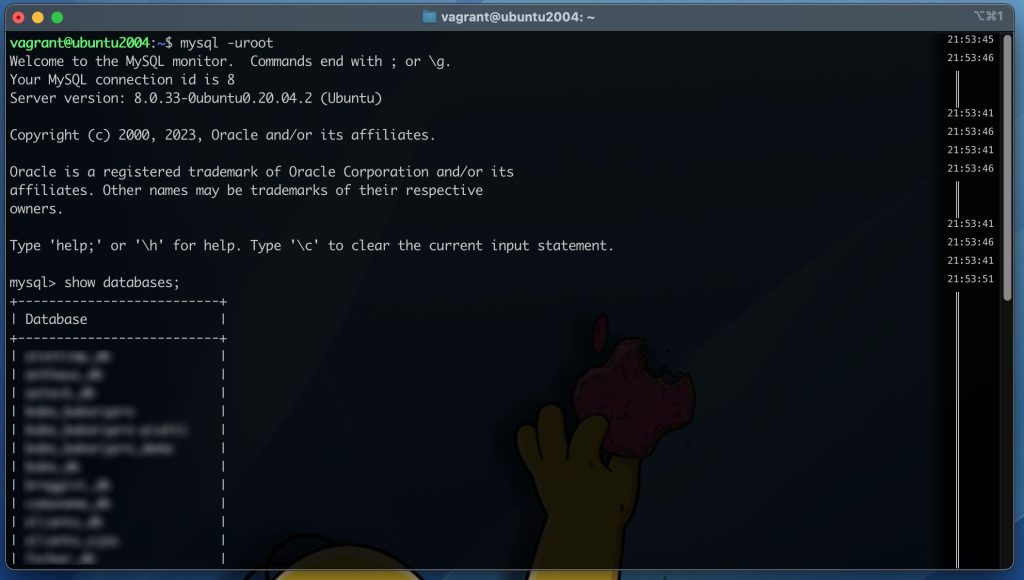
Now you should be able to connect to mysql. Use the mysql command with now password, you should be able to connect and list the databases with “show databases”

Now we can say it’s done ! We restored databases from mysql data-files! You should just do a mysql dump of the database you need. If you choose /vagrant_data you can easily grab the dump from your host operating system.
$ mysqldump -uroot databasename > /vagrant_data/databasename.sqlAlternatives to my “Restore databases from MySQL data-files”
Of course, I’m not first one who recovered a mysql server from datafiles. Even if I didn’t follow it, this post on Stack Overflow can help!
https://stackoverflow.com/questions/484750/restoring-mysql-database-from-physical-files